
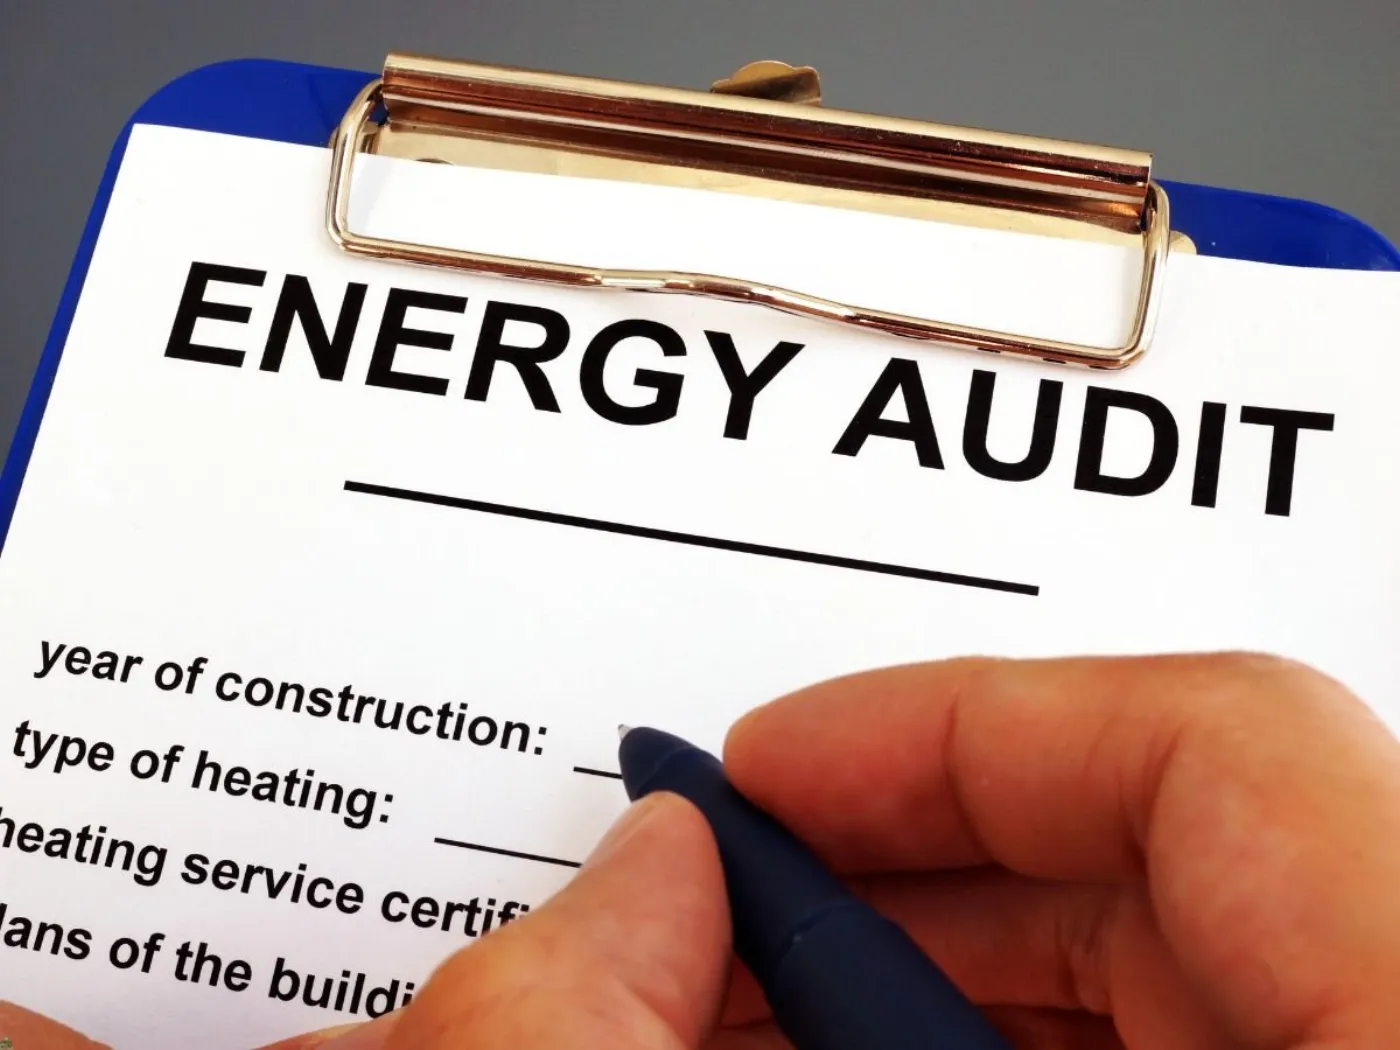
A home energy audit, also called a home energy assessment, is the first step to understanding where your house is wasting energy and how to fix it. The U.S. Department of Energy describes it as a whole-home evaluation (building envelope, heating/cooling, ventilation, and health/safety) that identifies inefficiencies and prioritizes improvements to boost comfort and lower utility bills. If you’ve wondered what is a home energy audit, think of it as a data-driven checkup that turns guesswork into a clear plan for savings and comfort. In Colorado’s high-elevation climate—with big day-night swings, dry winters, and strong stack effect—air leaks and thin insulation show up fast, so even newer homes can benefit from a professional look.
During a professional visit, you’ll typically get a whole-home walkthrough followed by diagnostics: a blower door test to measure and track down air leakage, infrared imaging to spot missing or slumped insulation, duct/room-pressure checks, and combustion-safety testing for gas appliances. Your auditor will wrap up by reviewing a written report that ranks upgrades by impact and cost and outlines next steps so you can plan work (and rebates) in the right order. Expect a friendly, plain-English explanation of findings so you leave with a clear roadmap and not just a pile of numbers.
What Is a Home Energy Audit?
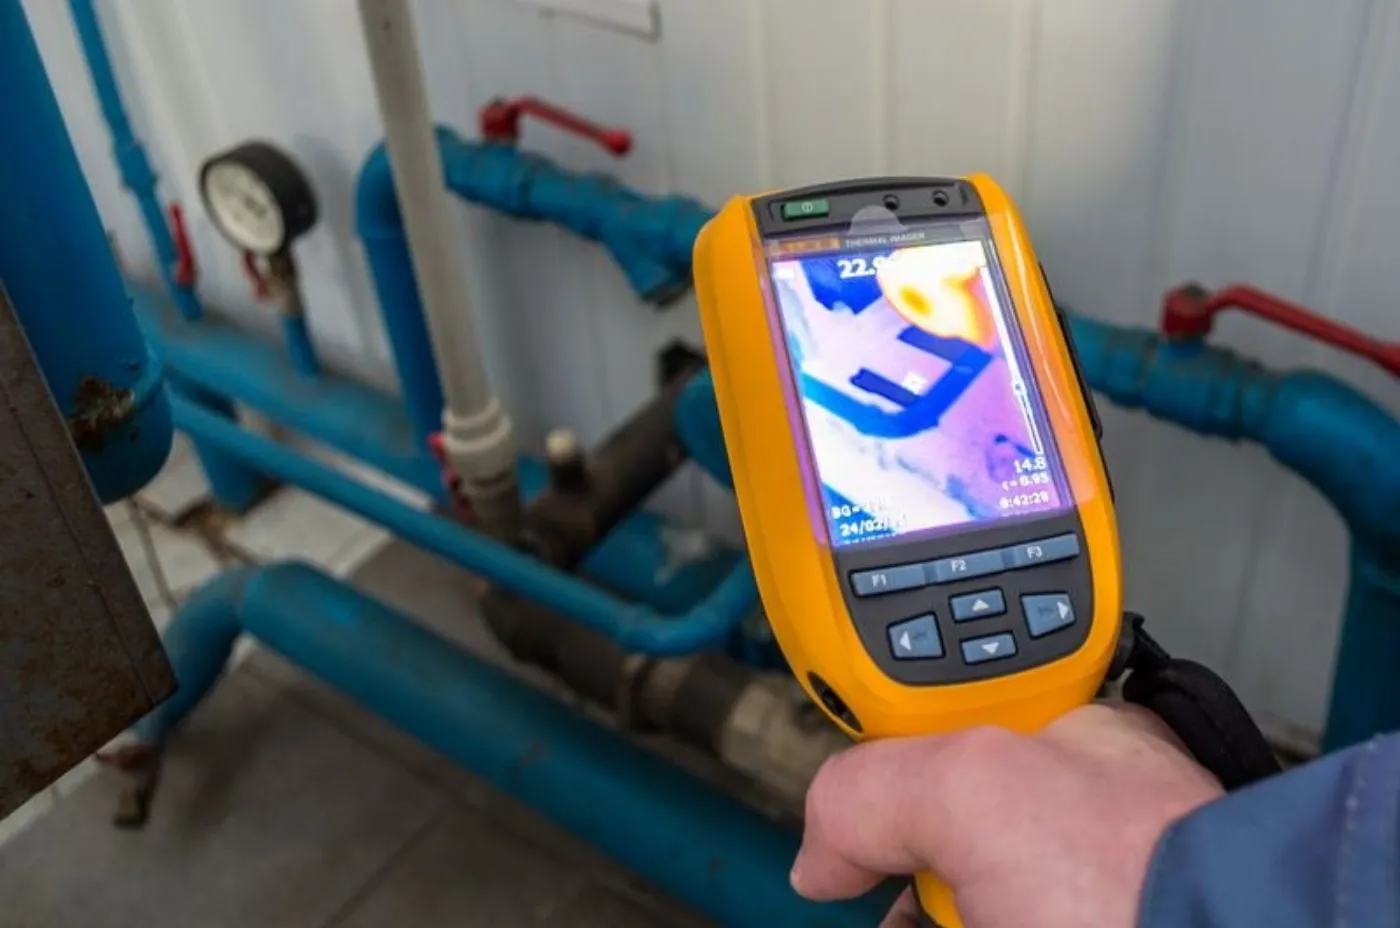
A home energy audit is a systematic, whole-home evaluation that shows where energy is being wasted and how to fix it. We combine simple observations with instrumented tests to translate comfort complaints into measurable causes and practical solutions. And we use your home’s real conditions to build a plan you can act on confidently.
Below, we break down what a professional home energy assessment includes, what we look for in each part of the house, and what you can expect to receive from us when it’s finished. The goal is clarity: you’ll know what’s happening, why it matters, and which steps move the needle first.
Plain-English definition: what is a home energy audit?
A home energy audit (also called a home energy assessment) is a structured checkup of your building shell and systems to locate air leaks, insulation gaps, and equipment issues that drive up bills and reduce comfort. We pair a guided walkthrough with diagnostic tools to quantify where energy and conditioned air are escaping.
We identify problems, measure their impact, and outline fixes in the order that delivers the most comfort and savings.
How a professional home energy assessment works in practice
- We start with a brief conversation about comfort trouble spots and usage patterns, then review recent utility bills to spot trends.
- Next, we move through the home methodically, capturing readings and photos that support our recommendations.
What we examine during your home energy assessment
We evaluate the building envelope—attic, walls, foundation, windows, and doors—to see how well your home resists heat flow and air movement. Then we assess the performance and condition of mechanical systems, looking for efficiency losses, safety concerns, and maintenance opportunities.
Our scope typically includes:
- Building envelope: air leakage paths, insulation levels, thermal bypasses
- HVAC: furnace/boiler/heat pump condition, airflow, duct leakage, controls
- Water heating: equipment type, temperature settings, distribution losses
- Lighting and plug loads: quick, cost-effective efficiency wins
- Ventilation and indoor air quality: bath/kitchen exhaust, fresh air strategies
- Health and safety checks: carbon monoxide risks, combustion venting, moisture
Why this scope delivers better answers
We connect the dots between symptoms (drafty rooms, uneven temps) and root causes (pressure imbalances, missing insulation, duct losses), so fixes are targeted—not trial and error.
What you get after a home energy audit
You receive a prioritized improvement plan that starts with the highest-impact, lowest-cost actions and sequences larger projects smartly. We include plain-language explanations, diagnostic photos, and key test numbers so you can see exactly what changed and why it matters.
Deliverables typically include:
- A list of upgrades with estimated costs
- Modeled impacts on comfort, energy use, and safety
- Guidance on rebates, incentives, and practical next steps
- Optional verification testing after work to confirm results
A quick example of how this helps
If testing shows excessive air leakage and low attic insulation, we’ll recommend air sealing first, then insulation—so new insulation doesn’t hide leaks and underperform. This sequencing protects your investment and maximizes comfort gains.
The Step-by-Step Home Energy Audit Process
We follow a clear, repeatable sequence so your home energy audit feels organized and low-stress from start to finish. Each step builds on the last, giving us precise data and giving you confidence that recommendations are based on evidence.
You’ll see how the diagnostics connect to real-world fixes, not just numbers on a page. And you’ll leave with a focused plan that prioritizes comfort, safety, and value—not a laundry list of projects.
Step 1: Pre-visit Intake & Bill Review
We start your home energy audit with a short intake so we understand your goals and comfort concerns. We also review up to 12 months of utility bills to spot patterns like seasonal spikes or unusually high baseload use.
This context helps us target likely problem areas quickly once we’re on site. It also lets us estimate the impact of improvements with better accuracy.
What we review before your home energy assessment
- Utility usage history and rate structure
- Noted hot/cold rooms, drafts, and any moisture or indoor air quality concerns
What you can prepare for us
- Recent maintenance records for HVAC and water heating
- Photos or notes about problem areas you’ve noticed
Step 2: Whole-Home Walkthrough (Interior & Exterior)
We perform a methodical walkthrough of the home’s exterior and interior to document construction details and look for red flags. This includes windows and doors, attic and roof interfaces, foundation/crawlspace, and all accessible mechanical rooms.
The walkthrough sets the stage for testing by revealing where diagnostics will be most informative. We capture observations and photos to tie later recommendations to specific locations.
What we look at during your home energy assessment
- Exterior shell details: siding/trim interfaces, penetrations, and weatherstripping
- Interior indicators: attic hatches, knee walls, bath/kitchen exhausts, basement rim joists
Step 3: Blower Door Test
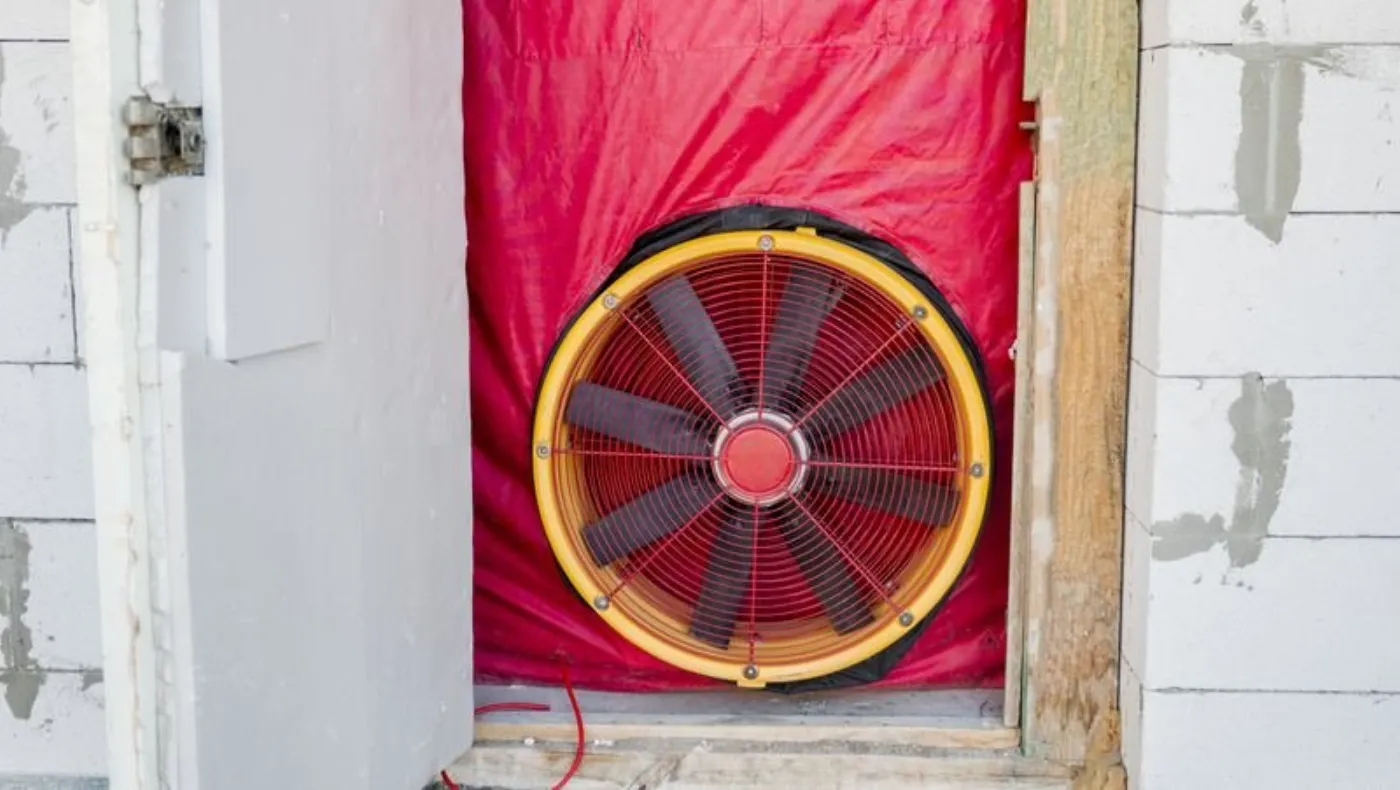
A blower door temporarily depressurizes the home to measure overall air leakage and to help us find hidden gaps. We collect airflow in CFM and convert to ACH at test pressure to benchmark how tight or leaky the building is.
We conduct the test with proven safety protocols and coordinate appliance checks to protect occupants and equipment. The fan runs only during testing and doors/windows return to normal operation immediately after.
Understanding the numbers in your home energy audit
- CFM at 50 Pascals (CFM50): total airflow required to hold test pressure
- ACH50: how many “air changes per hour” at test pressure, normalized for house size
Why this step is safe and useful
- We isolate and verify leakage paths while monitoring pressures
- And we use the results to target air sealing where it will matter most
Step 4: Infrared Thermography & Leak Detection
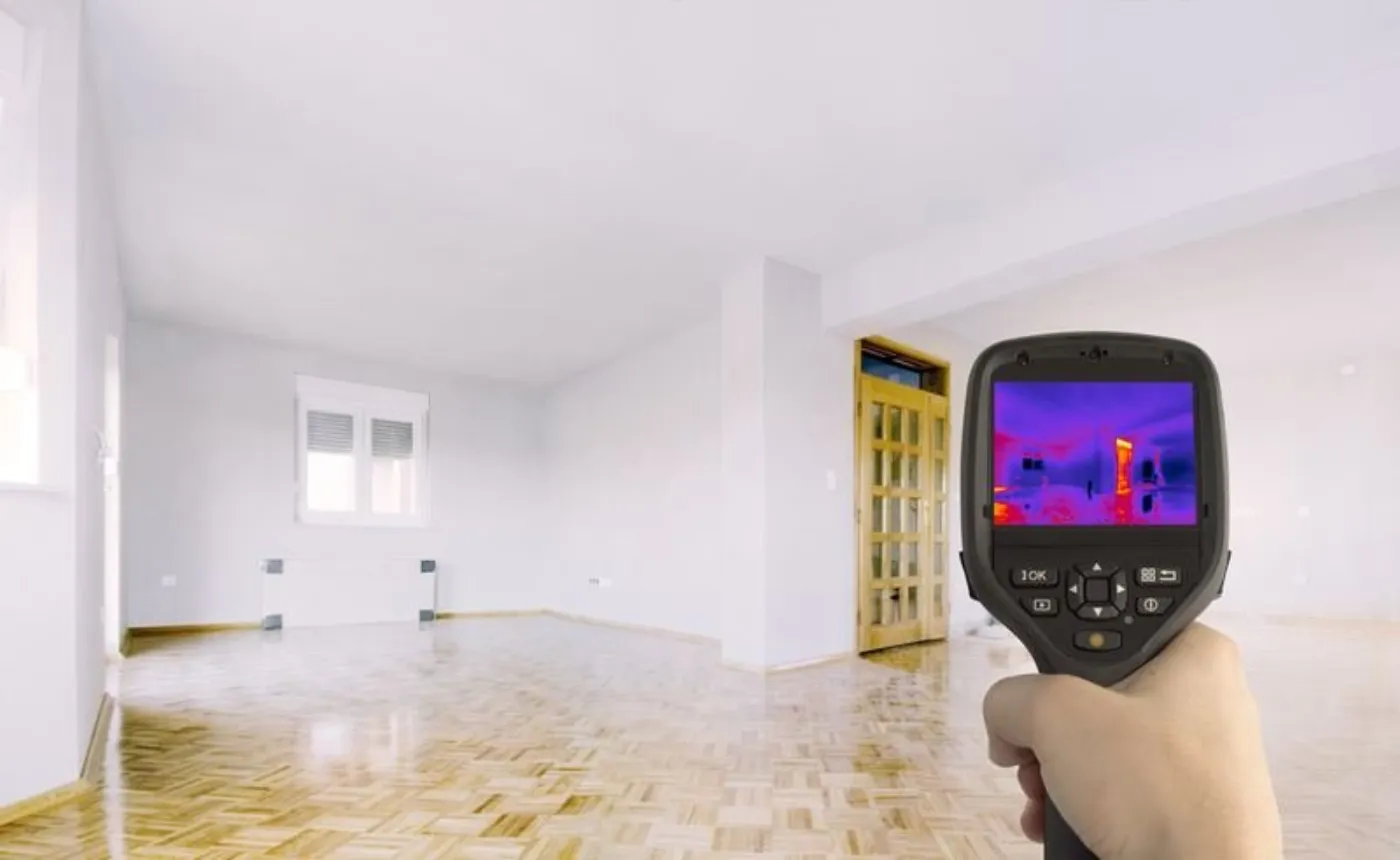
With the blower door operating, we use an infrared camera and smoke tools to visualize where air and heat are moving. Thermal images reveal missing or slumped insulation and show exactly how air bypasses travel through the shell.
This is where causes become visible, not just theoretical. You’ll see annotated images in your report so the fixes are easy to understand and prioritize.
What we capture during your home energy assessment
- IR photos of trouble spots (attic transitions, rim joists, chases)
- Notes linking each image to recommended air sealing or insulation detail
Step 5: Duct Leakage & Room Pressure Checks
If your home has forced-air heating or cooling, we test ducts and room pressures to uncover energy losses and comfort imbalances. Leaky supply or return ducts can waste conditioned air and pull in dusty, unconditioned air from attics or crawlspaces.
We may also measure pressure differences between rooms with doors closed to spot under- or over-supply issues. Balancing airflows can dramatically improve comfort in problem rooms.
What we verify in a home energy audit
- Duct leakage to the outside and major connection losses
- Room pressure imbalances that drive drafts or uneven temperatures
Step 6: Combustion Safety & Venting Tests
For gas appliances, we perform spillage and draft checks to ensure flue gases vent safely under normal and test conditions. We also screen for elevated carbon monoxide at the appliance and in ambient air.
These checks protect health and help us sequence improvements correctly. For example, air sealing can change pressure dynamics, so we verify safe venting before and after work when applicable.
What we check and why it matters
- Water heater and furnace draft performance, especially under depressurization
- Appliance room make-up air and clearances to reduce backdraft risk
Step 7: Insulation Verification

We confirm existing insulation levels and installation quality in attics, crawlspaces, and accessible walls. Visual checks, depth measurements, and IR imaging help us separate true R-value from nominal labels.
Air sealing typically precedes insulation upgrades so new insulation performs to its rated potential. Proper sequencing also reduces moisture and comfort issues long term.
What we document in your home energy assessment
- Verified R-levels and any visible gaps, compression, or wind-washing
- Specific locations for targeted air sealing prior to adding insulation
Step 8: On-the-Spot Improvements (When Available)
Depending on your area and program eligibility, we may offer quick wins during the visit—simple measures that cut waste immediately. These can include basic direct installs that complement the bigger fixes recommended in your plan.
We focus on actions that are low-cost, low-disruption, and verifiably helpful. Your final report will still prioritize the larger steps for lasting gains.
Common quick wins during a home energy audit
- LED lighting swaps, water-saving showerheads, or smart power strips
- Minor air sealing at obvious gaps that surfaced during testing
Step 9: Results Review—Your Report & Roadmap
We sit down with you to translate findings into a clear, prioritized roadmap. You’ll see photos, key test results, and line-item recommendations sequenced for the best comfort.
The report also outlines estimated costs, potential incentives, and next steps to move from diagnosis to results. We remain available to answer questions and coordinate follow-up as needed.
What you receive after your home energy assessment
- A ranked report showing your overall home efficiency score with exactly what to do to improve it
- Guidance on timing, rebates, and optional verification testing after work
How to Prepare for Your Home Energy Audit

We want your home energy audit to be smooth, thorough, and low-stress. The right prep helps us move quickly, capture accurate readings, and deliver a sharper plan. And a little staging ahead of time makes it easier for us to reach the spaces that matter most.
Time & Access: plan for 2–3 hours (larger or complex homes can take longer)
Expect us on site for about two to three hours, depending on size, layout, and what we discover. We work methodically from exterior to interior and from attic to crawlspace so the data connects cleanly to the fixes we recommend.
Please clear a path to key areas before we arrive. Moving a few boxes now saves time later—and keeps the testing sequence on track.
Quick access checklist
- Attic hatches, scuttle covers, and pull-down ladders are reachable and not painted shut
- Crawlspaces, basements, and mechanical rooms are uncluttered and safe to enter
Colorado-specific access tips
- In winter, shovel or de-ice exterior access points
- If you have a steep roof or limited attic headroom, flag it during scheduling so we bring the right safety gear
Comfort issues list + bills: bring notes and 12 months of usage
Before your home energy assessment, jot down where you feel drafts, which rooms run hot or cold, and any moisture or odor issues. Real-world observations help us choose the right tests and interpret results faster.
If possible, have 12 months of utility bills or portal access ready. We use usage patterns to validate findings and estimate savings more precisely.
What to gather
- Electric and gas bills for the past year, including meter read dates and rate plans
- A short list of comfort priorities (e.g., “nursery too cold,” “office stuffy in summer”)
Why it helps
- Seasonal patterns reveal whether shell, ducts, or equipment likely drive the waste
- Clear goals let us tailor your roadmap to comfort first, not just kilowatt-hours
Windows, doors, & pets: close, secure, and simplify the test day
Keep windows and exterior doors closed on audit day so baseline conditions are stable. Interior doors can stay open unless we ask; we may close them briefly during room-pressure checks.
Please secure pets in a quiet area. The blower door fan is loud, doors may open and close more often, and equipment cables can be tempting to curious companions.
Day-of checklist
- Close and latch all windows; lock storm doors that tend to drift open
- Disable door-chime or security alerts that could be triggered by pressure changes
Fireplaces & combustion appliances: cool, clean, and ready for safety testing
Avoid burning a wood stove or fireplace for 12–24 hours before we arrive. Warm flues and active embers skew readings and increase the chance of spillage during pressure testing.
We’ll check draft, spillage, and ambient carbon monoxide around furnaces, water heaters, and gas dryers. Cooling this equipment and ensuring clear access helps us test safely and accurately.
What to do
- Let ashes cool fully and close fireplace dampers before the visit
- Clear a three-foot zone around gas appliances and make sure the vent area is visible
What to avoid
- Don’t start a fire, self-clean an oven, or run a long hot-water cycle right before testing
- Don’t seal off combustion closets; we’ll advise on proper make-up air if needed
Be present for the walkthrough: collaborate for a better plan
You’ll get more value if you can join the initial walkthrough and the end-of-visit review. Pointing out problem rooms, recent changes, or future renovation plans helps us tailor the sequence of improvements.
We’ll translate findings into plain language and connect each recommendation to comfort, safety, or savings. If you’re short on time, staying for the first ten minutes and the last ten minutes is still a win.
Make the most of your time
- Share your top three comfort goals so we can align the roadmap with what matters most
- Bring questions about rebates, timing, or scope; we’ll help you stage projects smartly
Optional example: staging a tight attic
If your attic entry is in a closet, moving a few storage bins and laying down a towel or tarp keeps insulation dust off clothing. This five-minute step speeds access and helps us document insulation levels without disrupting your space.
Why Choose PowerHouse Home Performance for Your Home Energy Audit
We take a whole-home, building-science approach to every home improvements, using diagnostics like blower door testing, infrared imaging, duct and room-pressure checks, and combustion safety testing to pinpoint issues with precision. Our roadmap translates those findings into clear next steps—sequenced for comfort, safety, and savings—so you know exactly what to do first and why it matters.
And when you’re ready, we’ll help you schedule your home energy assessment and walk through current rebate pathways so you capture every dollar available. If you want a quieter, cozier home with lower utility bills and verified safety, book your home energy audit with us today. We’ll deliver the data, the plan, and the support to make improvements with confidence.